
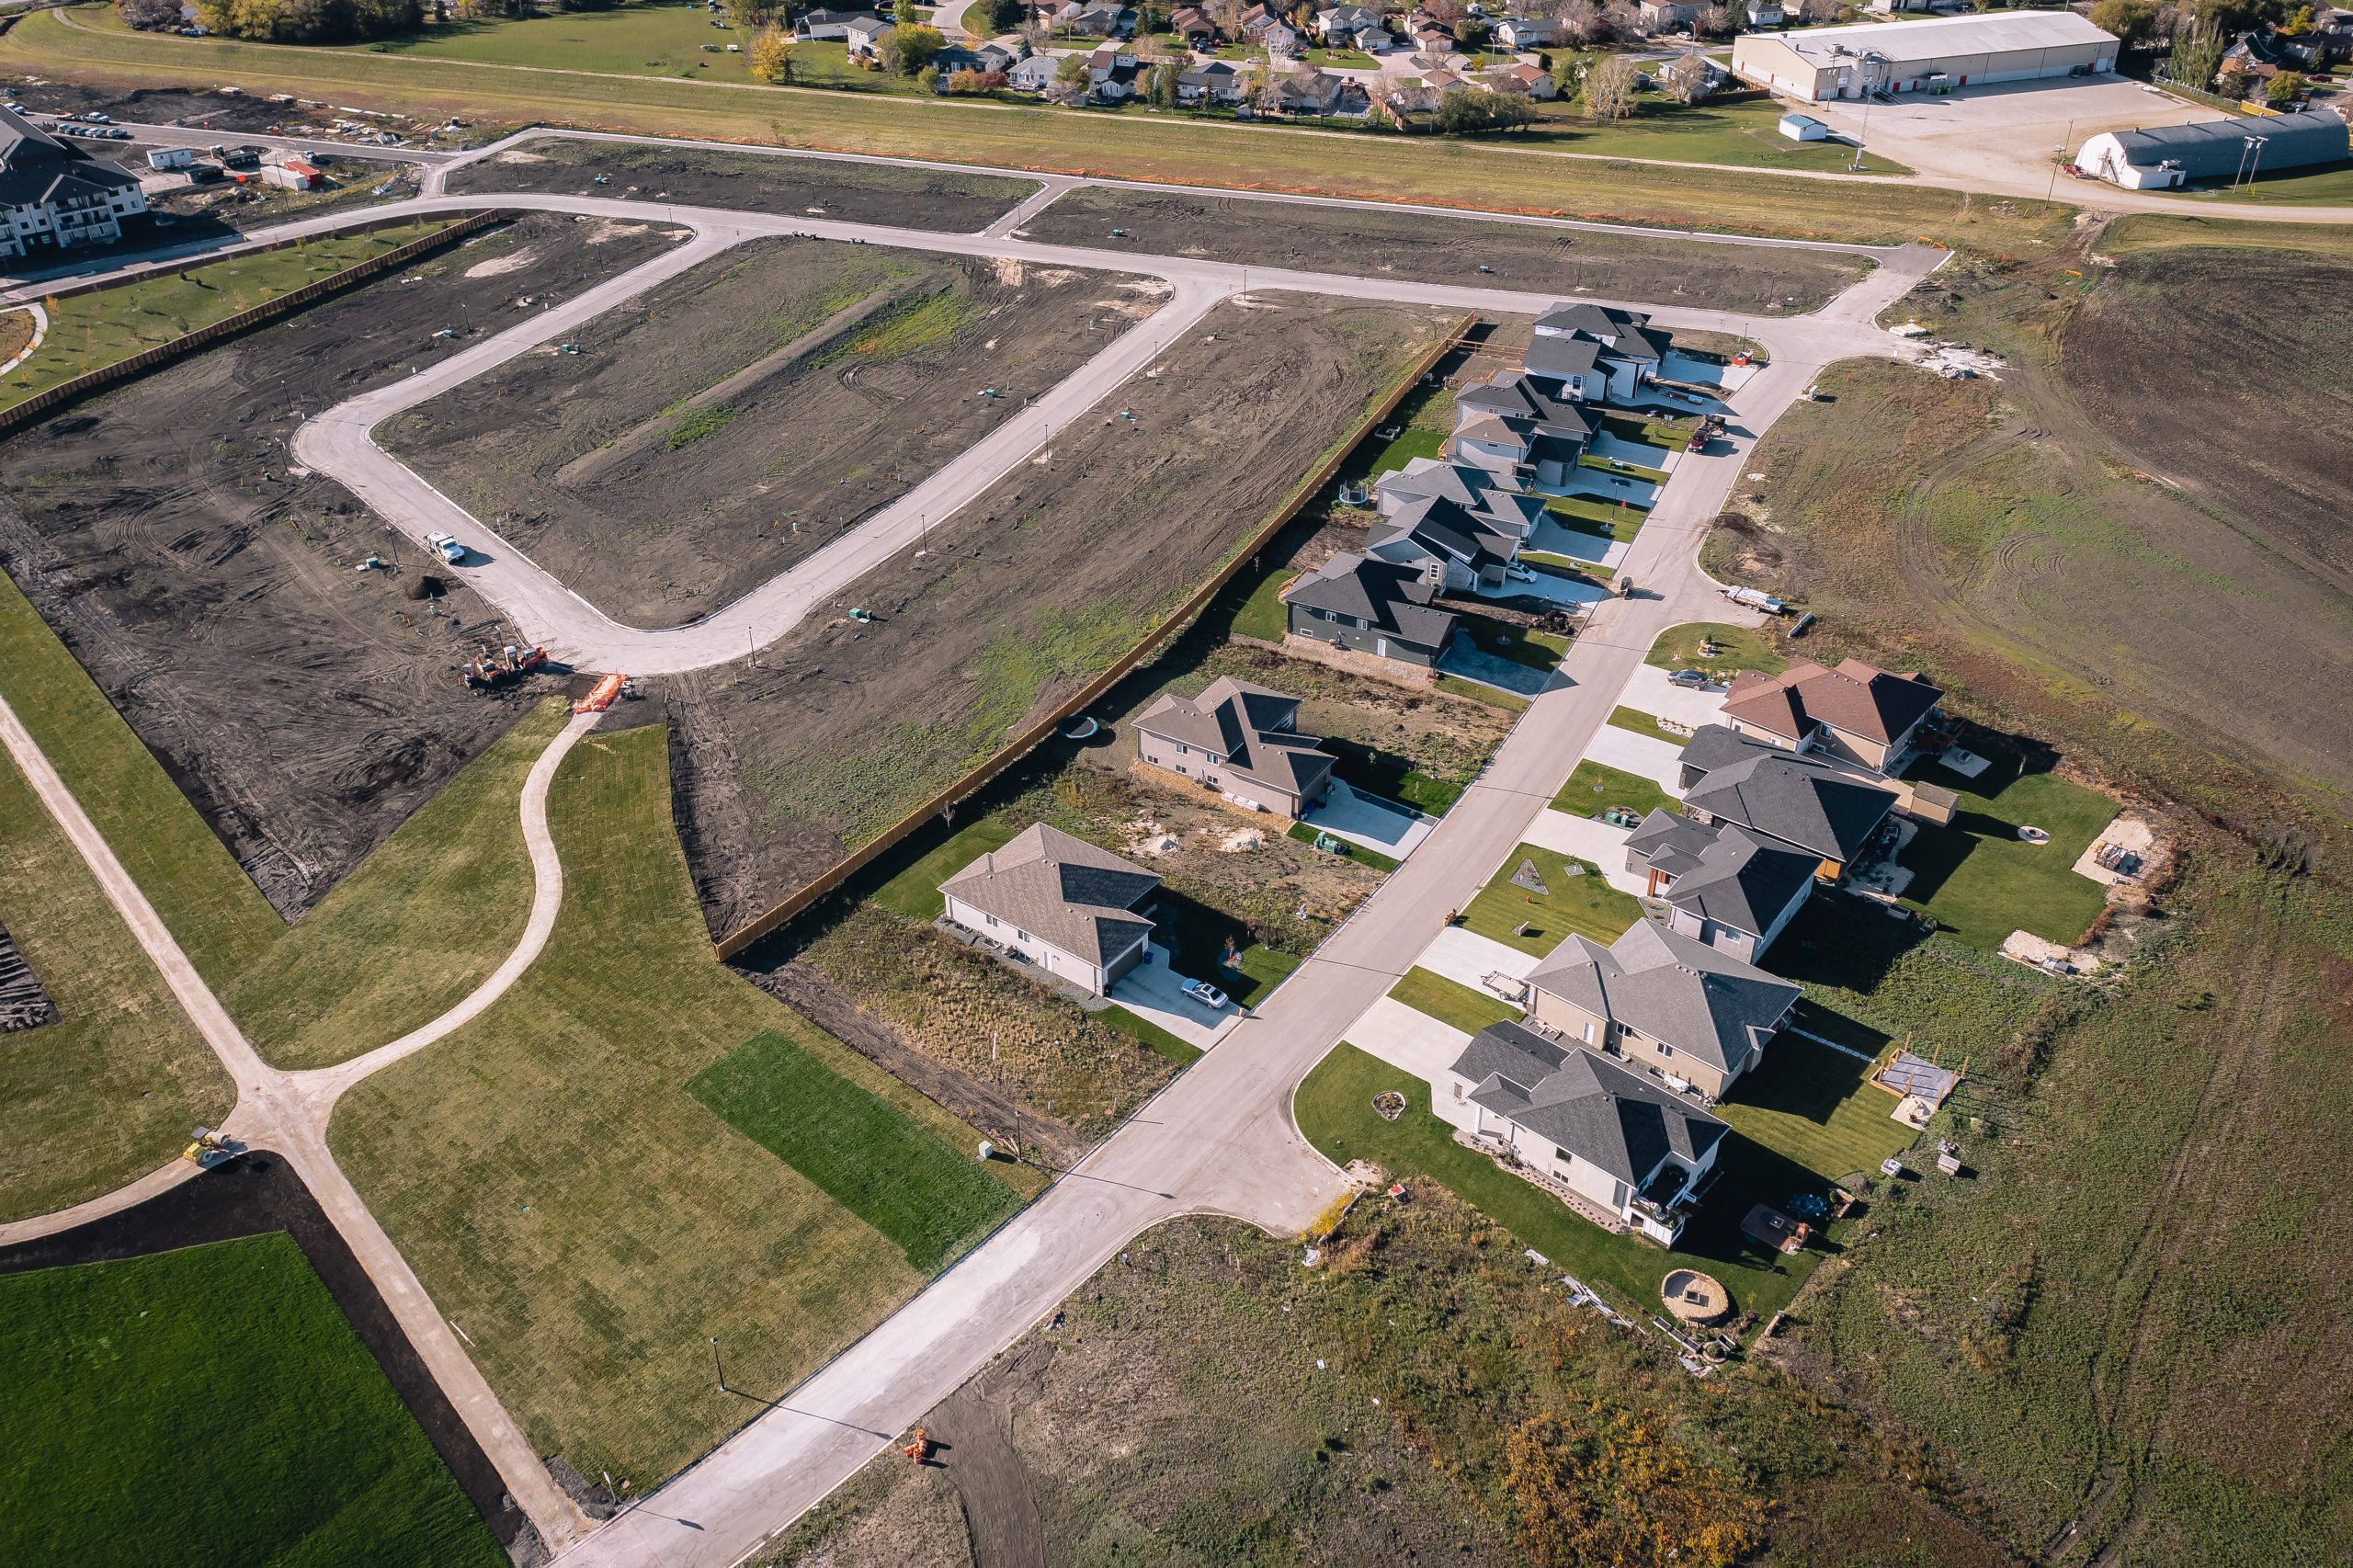
Building your new home in Winnipeg is a multi-stage process that can be overwhelming and confusing at times. Many questions come up from those who are in the process of building, as well as those who are entertaining a build of their own. Breaking down the process into ‘step by step’ stages can be a helpful tool and assist in understanding.
Once you have signed your contract for your chosen home, conditions for lawyer review and financing are approved, your home will be drawn and sent in for architectural approval. Once passed, it will go in for engineering and then for permit. The length of time for these steps can vary greatly based on the type of home you are building, how customized it is, and the area you are building in. Structural changes requested after these stages can slow the process down as in most cases, approval for these changes will need to be submitted once again. You will also be called to make your interior selections with our design team. Choices of flooring, cabinets, paint, exterior selections etc will be made at that time. Once all of these boxes are checked off, physical construction of your home can begin.
STEP 1 – EXCAVATION AND FOUNDATION
The first step to building your new home is to have Surveyors stake out:
- The lot
- Finished soil elevation at house
- House location on the lot
The basement trades mark out the excavation for the basement and depth of the excavation. The excavation contractor digs the hole and shores up the excavation walls as required to prevent soil from falling into the excavation.
STEP 2 – PILES AND FOUNDATION WALLS
There are two main types of basement wall supports:
- Footings – are wide reinforced concrete pads poured on the undisturbed soil.
- Piles – are deep holes drilled into the soil to a depth of twenty-five feet and are normally sixteen inches in diameter.
Piles are a more stable foundation base especially in our clay soils and are used for all Signature Homes house builds. Footings will tend to move more with soil conditions. Basement walls are poured on the piles with a void form between the piles which creates a buffer between the foundation walls and the soil. The void form is normally Styrofoam blocks six by eight inches by eight feet high. Basement walls are normally eight inches thick and eight to nine feet high.
STEP 3 – DAMP PROOFING FOUNDATION WALLS
Once the foundation walls are poured and have cured for seven days, a layer of tar is applied to the exterior of the walls. A heavy layer is placed over the steel snap ties, which hold the concrete wall forms in place. A lighter layer of tar is applied on the walls. This tar layer keeps water from being absorbed by the concrete wall which are porous and will absorb moisture if not protected. This damp proofing protects the concrete from water damage over the years.
STEP 4 – WATER PROOFING FOUNDATION WALLS
After damp proofing, our Standard Specifications go one step further and add a layer of Delta Wrap to the exterior of the foundation walls. This textured plastic wrap keeps water off the tar layer and channels the water down to the weeping tile. The wrap greatly increases the protection of the foundation wall from water damage over time. It also creates a buffer between the wall and the soil.
STEP 5 – WEEPING TILE
With Winnipeg’s clay soils, moisture management is extremely important. The clay soils expand when wet and shrink when dry. The function of the weeping tile is to remove excess moisture, so the soil does not expand. It also serves to maintain a stable moisture level in the soil at the base of the foundation.
The weeping tile is a perforated plastic pipe with a fabric sock/sleeve over it. It is placed continuously around the base of the foundation walls. The perforations in the pipe allow water to enter while the fabric sock keeps fine soils from entering the pipe which could plug the weeping tile over time. This system is far superior to the old clay tile systems used in the 50’s, 60’s and 70’s.
STEP 6 – SUMP PIT
This is the collection point for the excess water gathered by the weeping tile system. Solid plastic pipes run into the pit and are connected to the weeping tile. This is all done under the basement floor. The pit is dug into the soil so that the water collected by the weeping tile flows into the pit. A pump with an automatic switch is placed in the sump pit. The automatic switch turns the pump on and off and is controlled by the water level in the pit.
The discharge pipe is sealed ABS pipe and takes the water to the outside. There is normally an extension hose attached to the discharge pipe outside the foundation.
With our climate in Winnipeg, the extension hose can only be used in the warmer months as any water left in them will freeze and block it. Therefore, it is recommended to disconnect the exterior hose in the late Fall and reconnect it again in the Spring.
STEP 7 – MAIN FLOOR JOISTS
After the basement walls are poured and the wall forms are removed, the main floor joists are installed and are sheeted with ¾” tongue and groove OSB (oriented strand board). There are two main types of floor joists:
- Dimensional lumber – 2×8, 2×10, 2×12
- Engineered joists – I-Joists and Web Joists (primarily used on 2nd floor of 2 story)
The joists are secured to the foundation wall and add to the strength of those walls by tying them together. The floor sheeting is glued and screwed to the joists.
Once the joists are installed the foundation is backfilled on the outside to make the ground level solid around the house.
STEP 8 – GARAGE AND FRONT PORCH GRADE BEAMS
After the foundation walls are backfilled, piles are marked and drilled to support the porch and garage grade beams. The grade beams act like the basement walls to support the garage walls and the front porch and steps. They are normally eight inches thick and 2-4 feet high and are reinforced with steel like the basement walls.
STEP 9 – GRADE BEAM BACKFILL
When the grade beams are poured and cured for at least a week the garage is back filled with soil and the front yard is leveled. With the house foundation complete, backfill and levelling done, framing your house can now begin.
STEP 10 – SEWER AND WATER
With the foundations complete we can now install the sewer and water pipes to the house. The main sewer and water systems are already installed in the area, and they leave connection points underground at each lot.
Our sewer and water installers dig a trench from the front of the house to those connection points in the front yard. They connect the sewer and water pipes and bring them into the house under the foundation and future basement floor. The excavated trench is normally 6-9 feet deep. It is this depth to help prevent freezing in the winter months.
STEP 11 – FRAMING
This is an exciting time for the purchaser as you will now see the house start to take shape in three dimensions. Walls go up giving shape to the house. Once all the walls are up, the engineered roof trusses are delivered and are installed. The roof is sheeted, and the framing is almost complete.
The final stage in framing is to install the doors and windows.
STEP 12 – PLUMBING ROUGH IN
The water and drain lines for sinks, tubs and toilets are installed in the open floors and walls. Plumbing occurs first as the drains must flow with gravity and cannot go over or around other installations. All the water and drain lines are installed as per the National Plumbing code and are within the walls and floor systems. They will not be seen once the wall and ceiling drywall finishes are applied.
STEP 13 – HEATING AND VENTING ROUGH IN
Following the plumbing rough in, the HVAC trade comes in to install the heat runs, ducts, return air and exhaust piping. They will install galvanized metal pipes to move the heat to all areas of the house and to exhaust the bathrooms and kitchen.
Signature Homes uses a forced air heating system where air is fan forced through the pipes. The pipes can go up, down, and around beams, plumbing and walls.
With today’s open concept houses, bulkheads and chases are used to facilitate the run of the pipes as there are fewer interior walls to run them in.
STEP 14 – ELECTRICAL ROUGH IN
After heating and venting comes the electrical rough in. At this stage all the light fixture boxes, plug boxes and switch boxes are installed in the house. Copper wire is run through the house within the walls and floor systems so that everything will be covered, and safe once drywall is completed.
The wires run from box to box in circuits and are fed back to the central electrical panel normally located in basement. The wires will eventually be tied into the panel box providing power to all the circuits. We also run the low voltage lines for TV, phone, security systems, and sound systems at this time.
STEP 15 – INSPECTIONS
In Manitoba we have several inspections by the City or RM to ensure that we and our trades are complying with the national codes. It is always good to have a second set of eyes check your work to ensure code compliance.
The first inspection is referred to as the “All Trades” Inspection. An inspector comes to the house to check:
- The structure of the house
- The plumbing rough in
- The electrical system rough in
When they have checked all three elements and are satisfied that the work is done correctly and complies with the building codes, a green sticker is given and displayed in the house. This gives us the go ahead to start the next step which is insulation and poly. If defects are found the inspector will list them on a red sticker and they must be corrected and then re-inspected before we can move to the insulation and poly stage.
STEP 16 – INSULATION and POLY
Once the All-Trades inspection is passed, the next step is to insulate and poly the exterior walls and ceilings. There is a national energy code that sets a minimum R value for wall and ceiling insulation and for the sealing of the poly vapor barrier. Insulation slows the transfer of hot to cold air. The higher the R value the slower the transfer.
The minimum R value for walls is R20 and for ceilings it is R50. There are many types of insulation with the most common ones being fiberglass bats and loose fill or spray foam. The most used insulation is fiberglass as spray foam is very costly. The poly vapor barrier is a heavy plastic film used to prevent moisture from inside the house penetrating the walls. Without a vapor barrier moisture can get into the wall cavities where it would build up and eventually rot the wood in those cavities.
The vapor barrier is sealed at all joints and openings which helps prevent drafts and outside air from leaking into the house. A properly sealed membrane will reduce heating costs. At this stage another inspection is done by the city or RM to ensure proper sealing of the moisture barrier.
STEP 17 – DRYWALL
Drywall is a wall covering with a core of gypsum powder mixed with adhesives covered by a heavy paper and it is the most common interior wall covering in Canadian home building. It can be cut with a knife, saw or router blade to fit and is screwed to the wall studs, floor joists and roof trusses. at this point the interior of the house really takes shape. When fully “boarded” (all surfaces sheeted with drywall) there are many joints between the boards and all screws are visible. The drywall sheets are then “taped” to hide those joints and screws. A paper tape, similar to the drywall’s paper coating is applied at all joints and seams with a mud mixture of gypsum adhesives and water. This covers the joint and strengthens it. The mud mixture is applied to make the joints appear smooth and straight.
Taping is a trade with a lot of expertise required to make the joints invisible. (It takes several years to become a good taper). After three coats of drywall mud are applied, the drywall is then sanded to smooth out all joints and make the walls and ceilings appear straight. The better the taper is, the less sanding is required.
STEP 18 – PRIMING
When the walls and ceilings are fully sanded the drywall and taping must be primed with a special paint. This paint seals and strengthens the drywall and taping mud and acts as a proper base for the finished paint coats.
STEP 19 – FIRST STAGE WOODWORK
Next, we move to the first stage of woodwork finishing. This is where the interior doors are installed, windows and doors are trimmed out, railings and wall capping are installed. At this point the interior of the home is looking much cleaner and more finished. There are many types of wood used at the finishing stage, oak, maple, aspen and MDF (medium density fiberboard) being the most common.
In today’s home market painted trims and finishes are the most preferred as they give the house a durable clean modern look. This look can be easily changed simply by changing the paint color. There is however a bit more maintenance involved with painted surfaces as the paint shows wear more than a stained wood product. The trims can come as raw wood or a pre primed product. Raw wood requires priming prior to being painted.
STEP 20 – PAINTING
With the woodwork complete the next step is to prime and paint the doors and trims. This process is normally done with a good quality latex paint that is sprayed onto the surface with specialized spray equipment and well experienced painters to ensure a clean smooth finish on all surfaces. Windows, doors, and walls are masked off with tape and paper to protect them from any overspray. We only want the woodwork sprayed not everything in the house.
Once the woodwork has been finished another set of painters come in to paint the walls and ceilings. These surfaces are once again sanded to ensure they are smooth and clean. Latex paint is applied using brushes and rollers to finish them in the colors chosen by the purchaser. At this stage the home is really looking good!
STEP 21 – CABINETS
Cabinets are the next thing to be done in the house. The kitchen and bathroom cabinets were manufactured during the prior building stages and are now ready to be delivered and installed. They were measured up at framing stage to fit the spaces provided. The cabinet style and colors would have been chosen prior to construction beginning as most cabinets are made to order and are not an ‘off the shelf’ item. Cabinets normally take 6 to 9 weeks to be manufactured once ordered.
With the cabinets installed it’s on to the countertops. The two most common tops are:
- Natural or man-made stone – natural stone like marble or granite and man-made stone-called quartz tops are installed and give the cabinets a finished look. These are most common in today’s homes.
- Laminate product – laminate tops are a particle wood base covered in a durable plastic/fiber material that is available in thousands of colors and styles.
STEP 22 – FLOORING
The house is swept and vacuumed to prepare the floors to be covered in the selected flooring. Vinyl plank, sheet vinyl and carpet are the most common floor coverings used in our houses. There are a multitude of floor coverings available ranging from hardwoods, various vinyl, stone and poly products, tile and carpet. Flooring choices are made in our design center prior to starting the build.
STEP 23 – FINISHING- BASE AND HARDWARE
The final finishing stages are upon us with the flooring now installed. It is now time for the base and hardware. This is the installation of the baseboards to finish the look where the floor meets the walls. All the hardware – door handles, towel bars, TP holders, doorstops and handrail brackets are installed in the house. All the doors are installed to the rooms and closets and are fully operational. This is where the home is really coming together! The following finishes are also done at this time:
ELECTRICAL FINISHING
All the light fixtures are installed. Plugs and switches are finished and powered up. The house is fully illuminated inside and out, and power is available throughout the house.
PLUMBING FINISHING
Now it’s time to get water flowing in the house. All sinks, taps, tubs, showers, and toilets are installed and water lines – hot and cold are run and completed. Drains are finished to take the wastewater through the house to the sewer line. The final step is the connection to the water meter that feeds the entire system. With everything installed the main water tap is opened and the entire plumbing system is tested water flows to all sinks, tubs, showers and toilets and it drains away without any leaks. We are almost in the home now!
FINISHING HVAC
All heat ducting is completed, heat and return air registers are installed. The exhaust system is tied in and tested. Air conditioning is installed and set up to run when it finally gets hot outside. The duct work is cleaned at this stage to ensure clean fresh air in the house when the customer moves in. The thermostat and ventilation controls are hooked up to control the interior climate of the house.
STEP 24 – POSSESSION WALKTHROUGH
Everything is now complete and once lawyers release the keys, you are the new owner! Our site supervisor and customer service folks will walk through the home with you and go over how things work and should be maintained. Additionally, this is an opportunity to mark any deficiencies that may exist and schedule service for same.
**Seasonal work is done between Spring and Fall, so depending on your possession, this may need to be done the following season. Things such as final grade, window wells, downspouts, driveways, stucco etc. **